WordPress Installation and Configuration
Pre Installation
We need the following application in our machine before we start the installation :
- Server [WAPM , XAPM , LAPM ]
- PHP 7.4 or greater
- MySQL 5.6 or MariaDB 10.1 or greater
- Web Browser
- Text Editor
Installation Steps
-
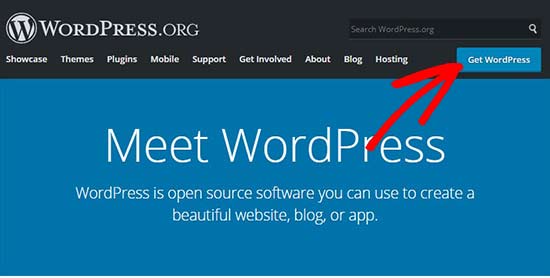
First , Download the latest version of WordPress from the WordPress.org website. It will download as a zip file.
-
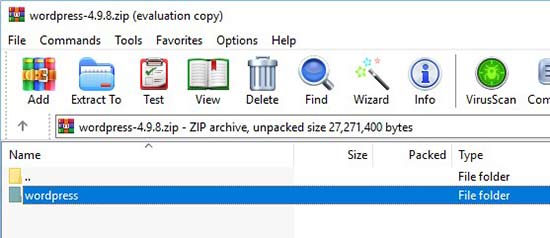
Then , extract the zip file and copy the ‘wordpress’ folder..
-
Then , past the wordpress folder in to the server installation folder [wamp , xamp]
Note : If it is wamp navigate to www and paste the folder. if it is xamp navigate to htdocs and past the folder
You can rename the ‘wordpress’ folder to anything you want, such as mysite, testsite, etc. This will be the URL of your local WordPress site, so be sure to choose something you’ll remember easily.
-
Lets create a database before we start the Installation Wizard
-
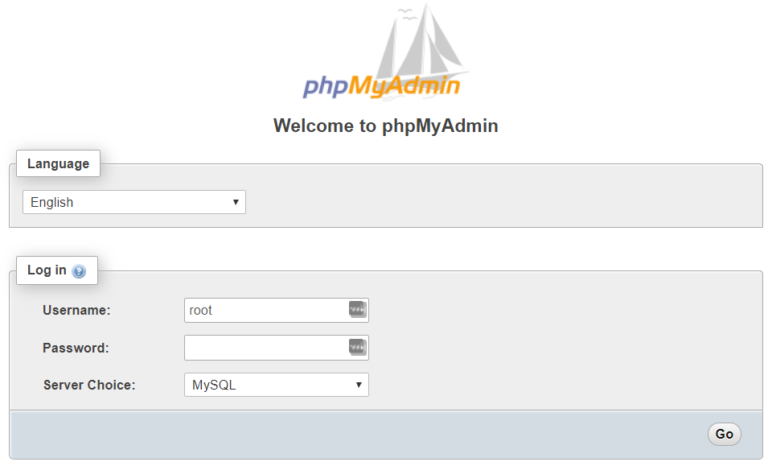
Open phpMyAdmin dashboard and login
-
Click on the Databases tab at the top of the screen and Create a with any name[wordpress, test ..]

-
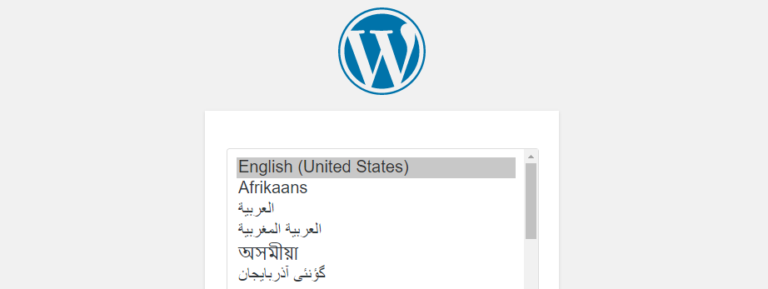
Next, you can open the web browser and go to http://localhost/wordpress/
Note :Will keep the original name here, but you’ll need to use whatever you changed yours to. Now you’ll get access to the WordPress installer: Select
a language and move on to the next step
-
After that, you need to enter your database details like database name, username, password, host, and table prefix
Note : When you get to the database details, enter them like this:
- Database Name = Name of the database you created in PHPMyAdmin
- Username = “root”
- Password = leave blank
- leave the database host and table prefix as-is.
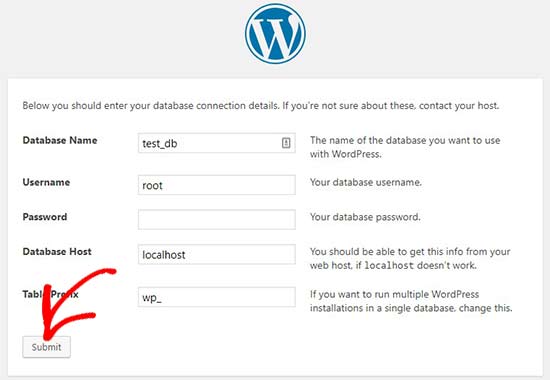
Click on the ‘Submit’ button and WordPress will create a configuration file for you in the backend
-
On the next screen, you will see a success message stating that WordPress is connected to your database, and you can proceed with the installation.
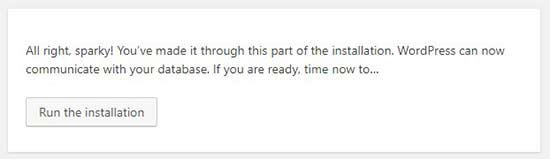
Go ahead and click on the ‘Run the installation’ button to continue.
-
Then, It will take you to the welcome screen for WordPress. You need to add a title for your new WordPress website, choose an admin username, enter a strong password, and provide an admin email address.
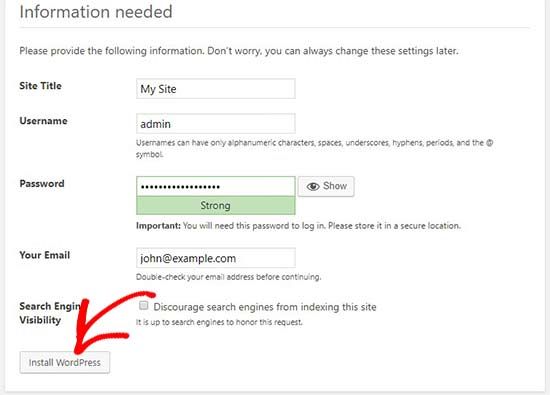
Once you’re ready, click on the ‘Install WordPress’ button.
-
After the installation process is complete, you’ll see a success message. In the background, WordPress has created new tables in your database and it’s ready to use.
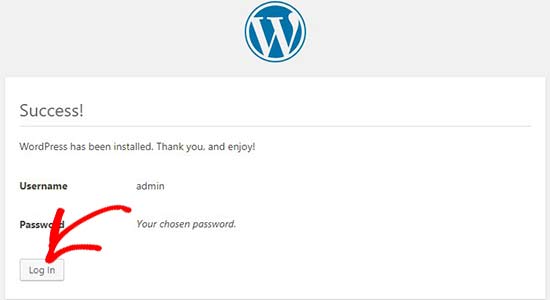
You can then proceed to your WordPress dashboard by clicking on the ‘Log In’ button.
Congratulations, you have successfully installed WordPress on a Windows computer using WAMP/XAMP.
Reference
- PHP 7.4 or greater
- MySQL 5.6 or MariaDB 10.1 or greater
-
First , Download the latest version of WordPress from the WordPress.org website. It will download as a zip file.
-
Then , extract the zip file and copy the ‘wordpress’ folder..
-
Then , past the wordpress folder in to the server installation folder [wamp , xamp]
Note : If it is wamp navigate to www and paste the folder. if it is xamp navigate to htdocs and past the folder
You can rename the ‘wordpress’ folder to anything you want, such as mysite, testsite, etc. This will be the URL of your local WordPress site, so be sure to choose something you’ll remember easily.
-
Lets create a database before we start the Installation Wizard
-
Open phpMyAdmin dashboard and login
-
Click on the Databases tab at the top of the screen and Create a with any name[wordpress, test ..]
-
-
Next, you can open the web browser and go to http://localhost/wordpress/
Note :Will keep the original name here, but you’ll need to use whatever you changed yours to. Now you’ll get access to the WordPress installer: Select a language and move on to the next step
-
After that, you need to enter your database details like database name, username, password, host, and table prefix
Note : When you get to the database details, enter them like this:
- Database Name = Name of the database you created in PHPMyAdmin
- Username = “root”
- Password = leave blank
- leave the database host and table prefix as-is.
Click on the ‘Submit’ button and WordPress will create a configuration file for you in the backend
-
On the next screen, you will see a success message stating that WordPress is connected to your database, and you can proceed with the installation.
Go ahead and click on the ‘Run the installation’ button to continue.
-
Then, It will take you to the welcome screen for WordPress. You need to add a title for your new WordPress website, choose an admin username, enter a strong password, and provide an admin email address.
Once you’re ready, click on the ‘Install WordPress’ button.
-
After the installation process is complete, you’ll see a success message. In the background, WordPress has created new tables in your database and it’s ready to use.
You can then proceed to your WordPress dashboard by clicking on the ‘Log In’ button.